This Astronaut Face was inspired by "Breaking Bad","Prometheus" and "The Thing".
I am a huge fan of Ridley Scott...i wanted to give a hint of what happened in my Space Scenario.
so the first step for me was to understand what i should know before approaching to curve the human face
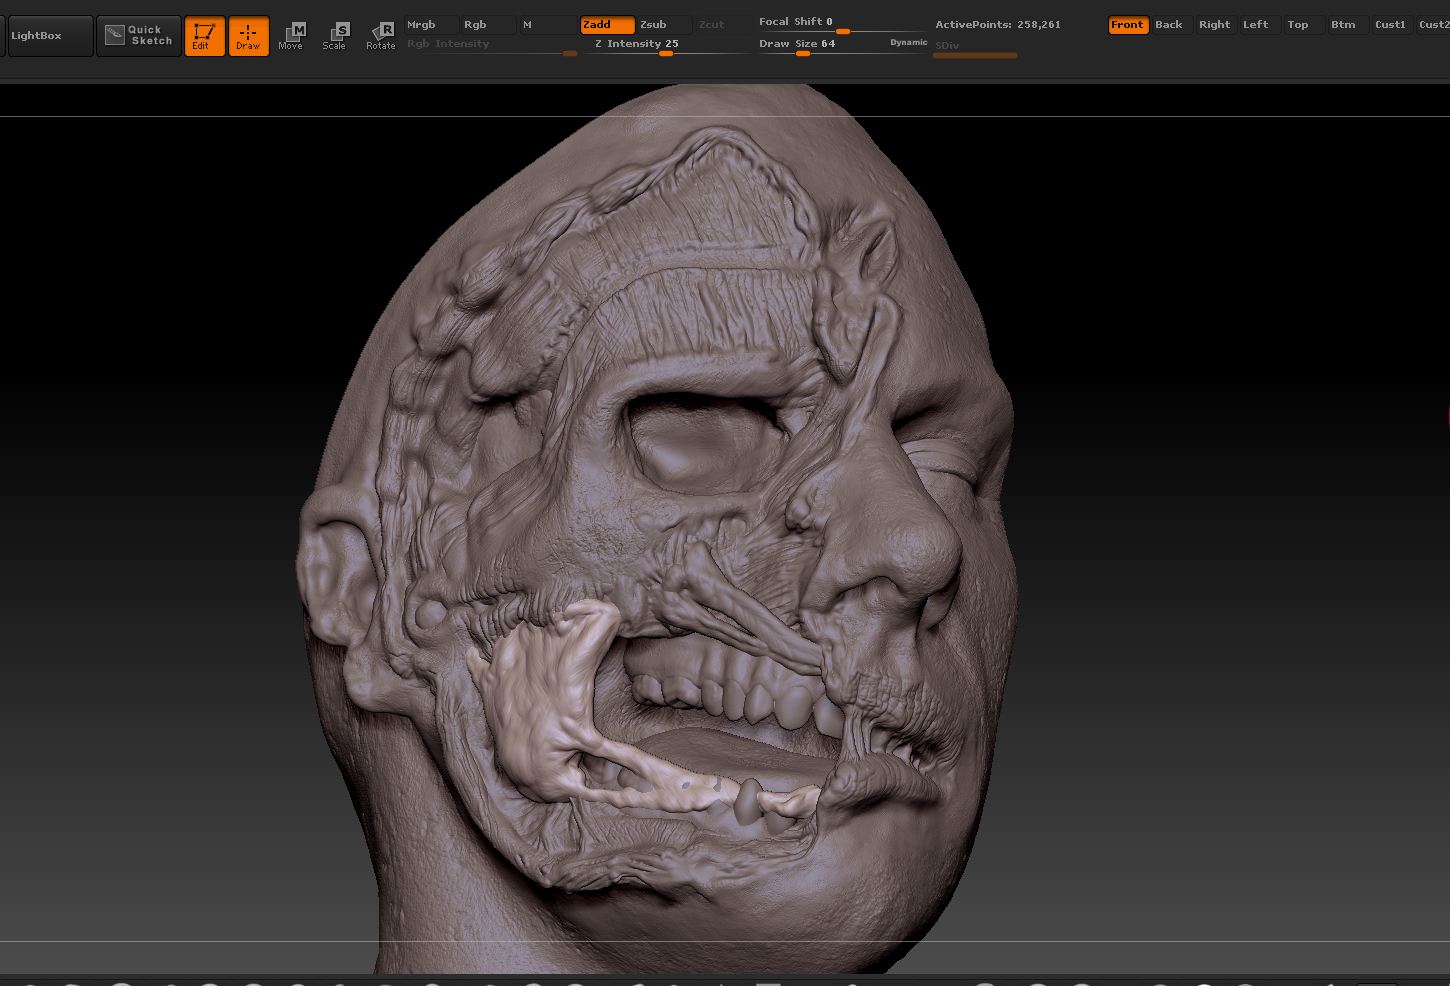
in sculpt class we focus on anatomy ,in the face the main muscles that will be exposed when i carve the front of the left side are masseter muscle and zygomaticus muscle on top of the cheeks & mouth bones, so the next step was to use a 3d scan after playing with agi software without getting good results probably because the photos i took , i used a 3d scan model of ten24 that i got from a friend Breno Marques.


i start topo with topogun , than i continue with zbrush ClayBulidup&ClayTubes i started to carve and sculpt the damage on the left side of the face, than i use the clean with good topology that i made before and project the clean model on top of the model with the damaged parts, than with simple setting in Xnormal and zbrush i generated AO,Cavity,mask by smooth,displace maps.
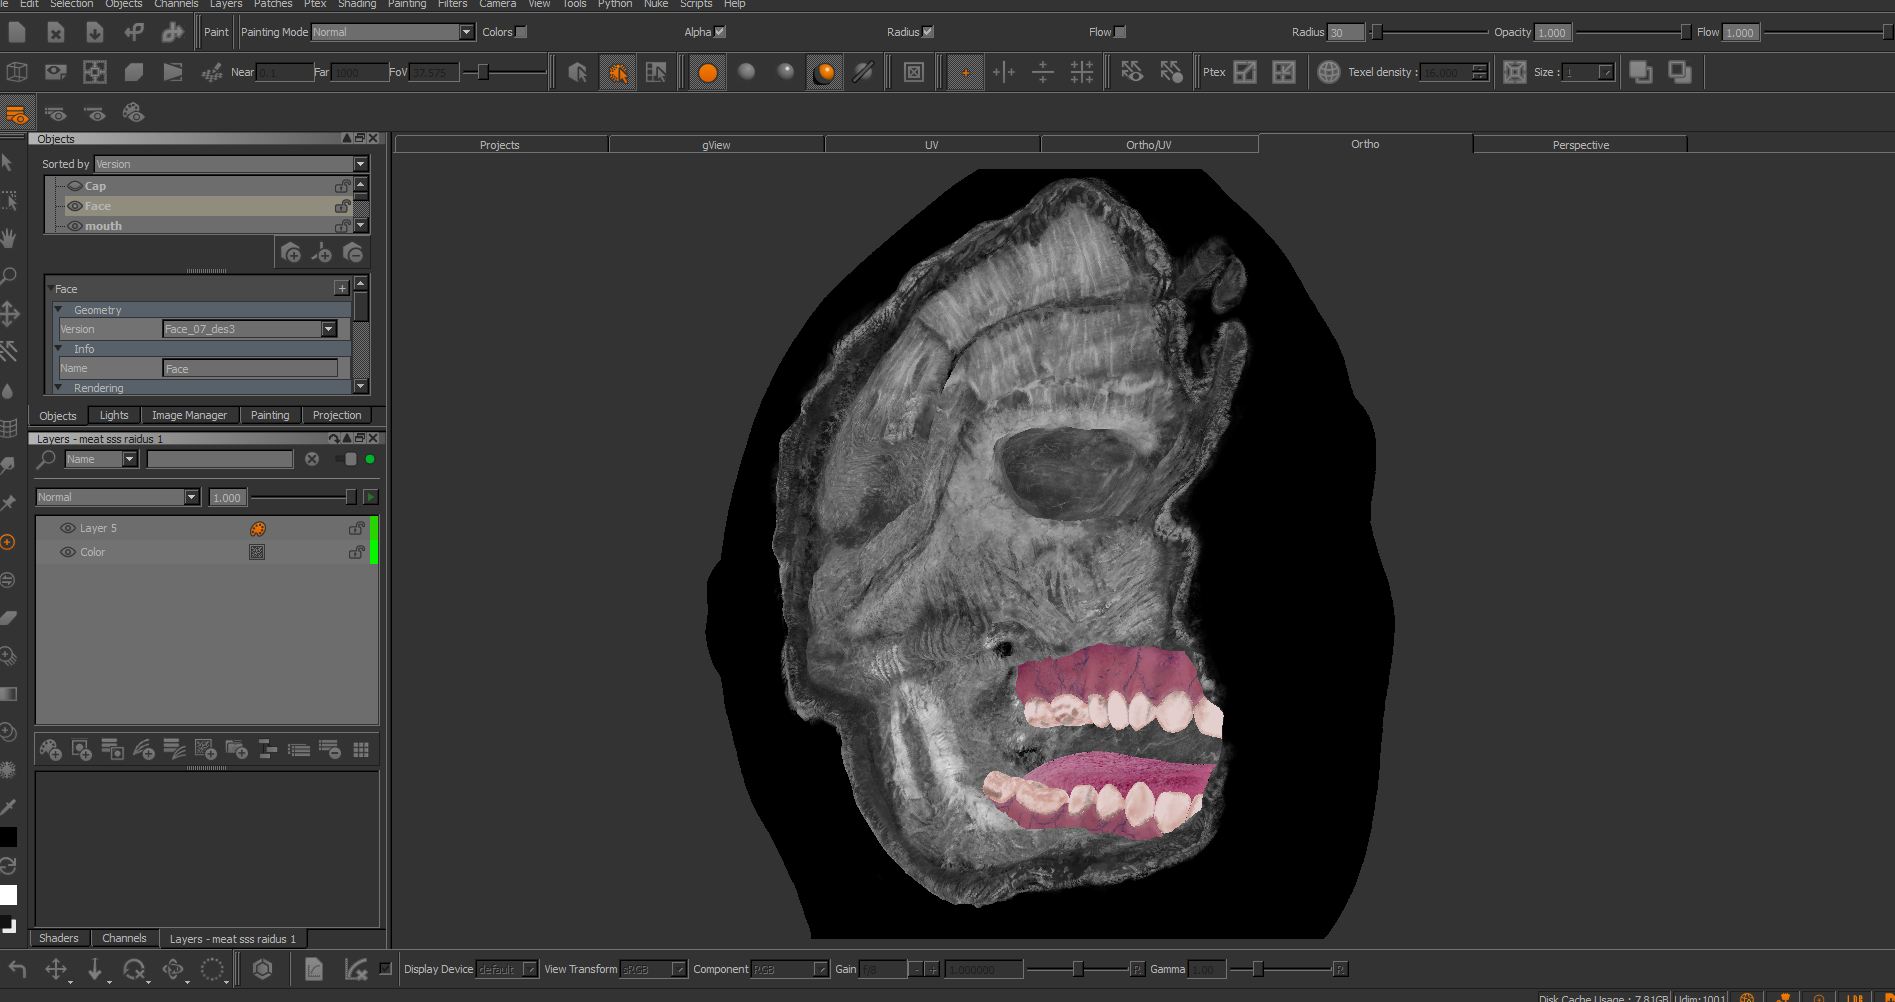
i continued with mari and used the maps as masks for project displace map for making small details in zbrush latter.
when i'm done projecting displace maps from Surface Mimic that we have account in school , i moved to zbrush to generate the small details.
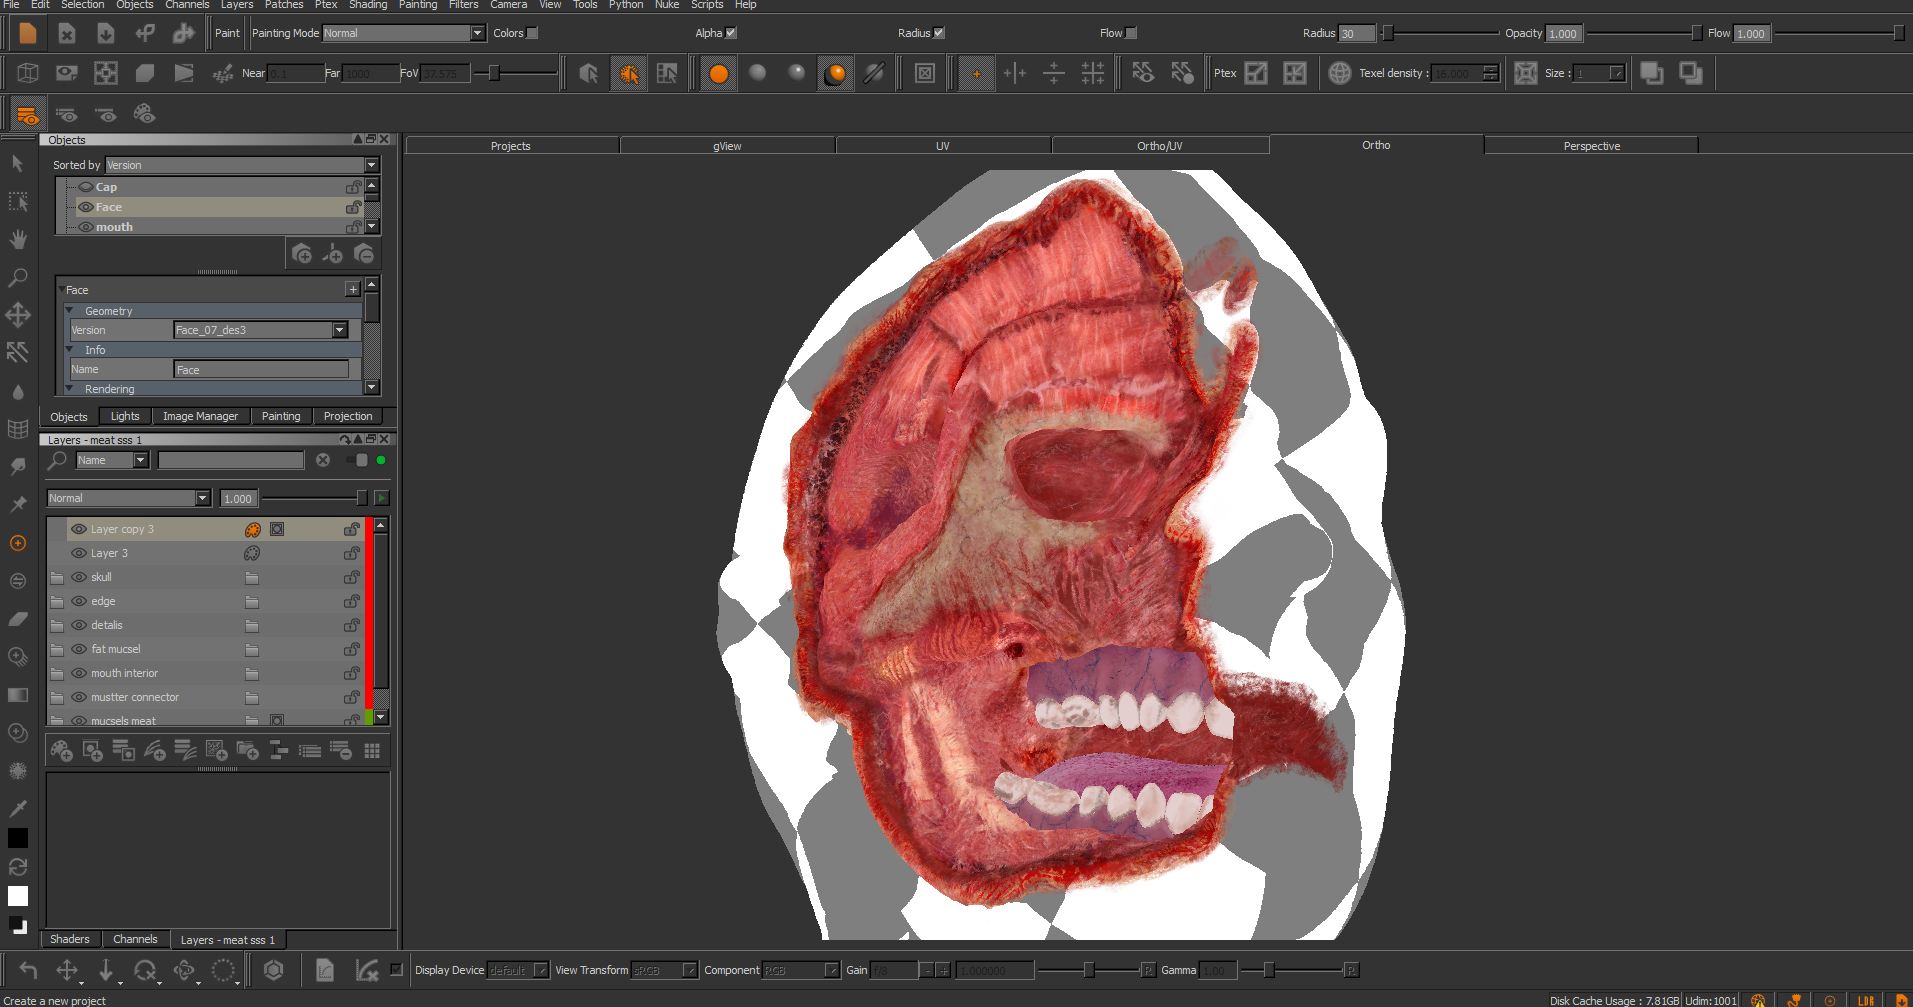
than i whant back to mari to continue with the diffuse ,SSS ,bumps, reflection & gloss maps.
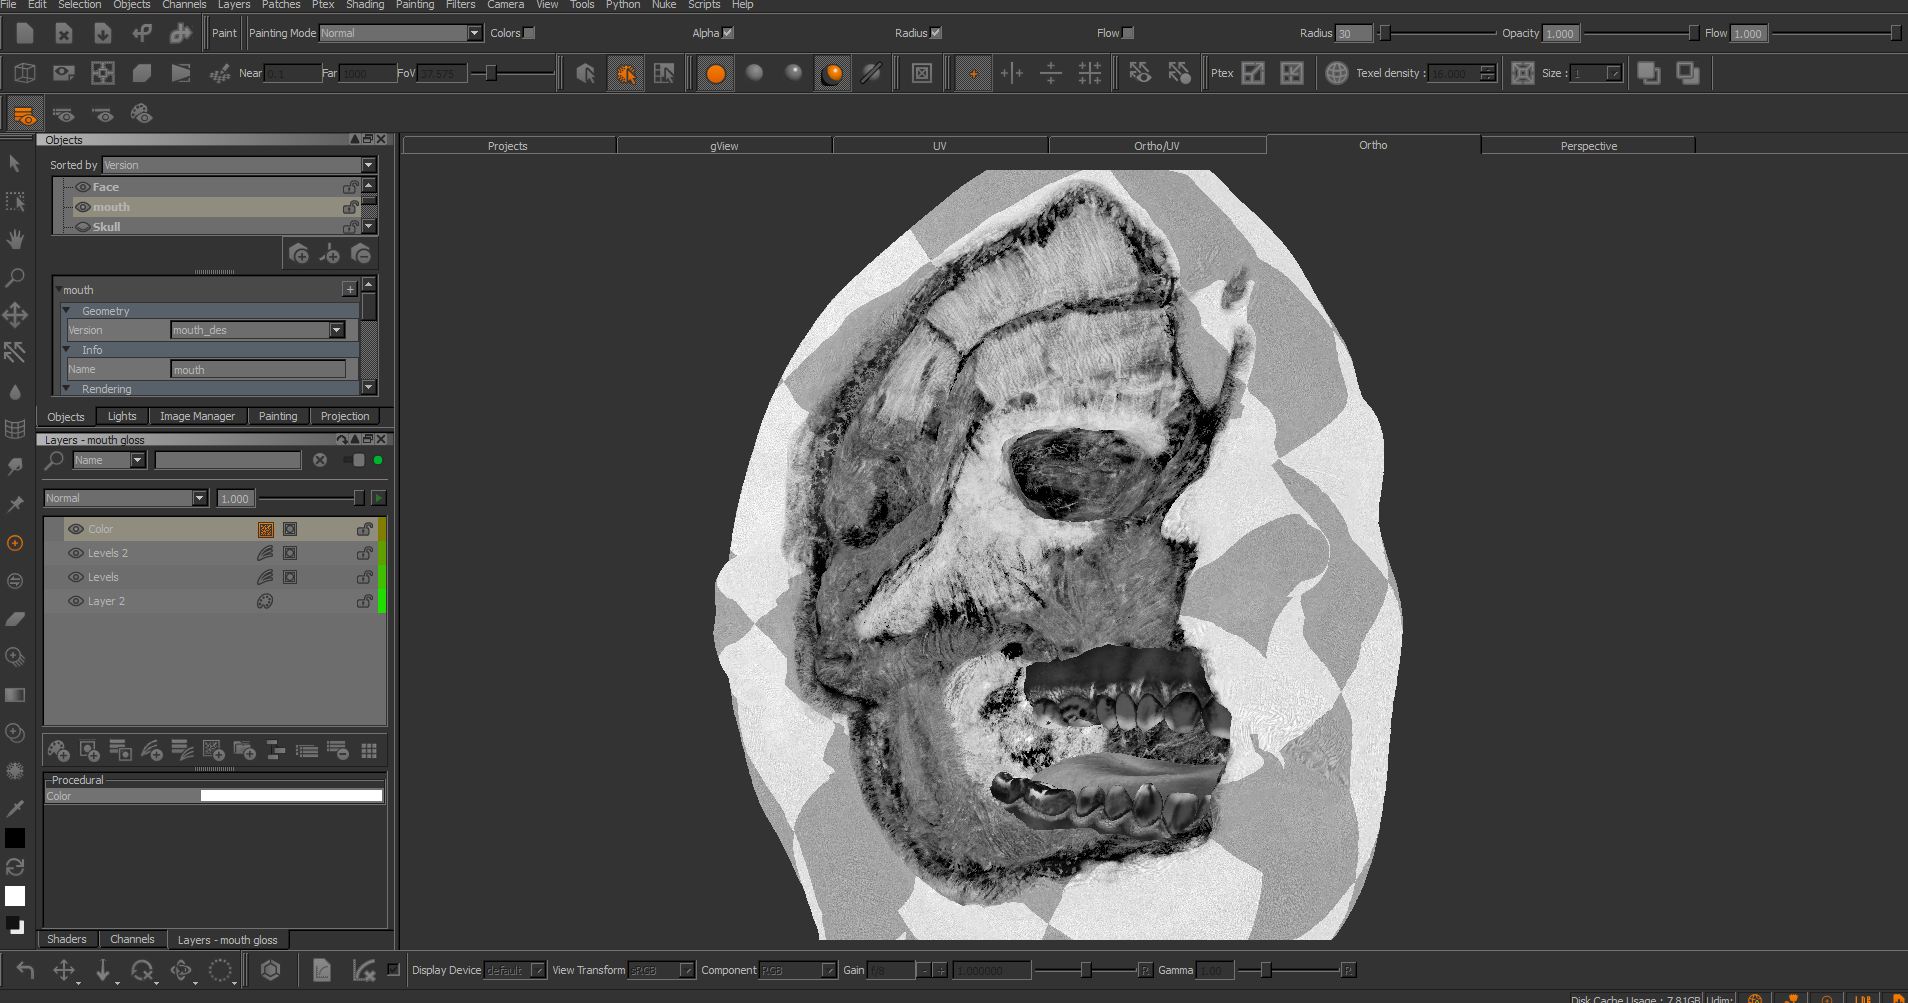
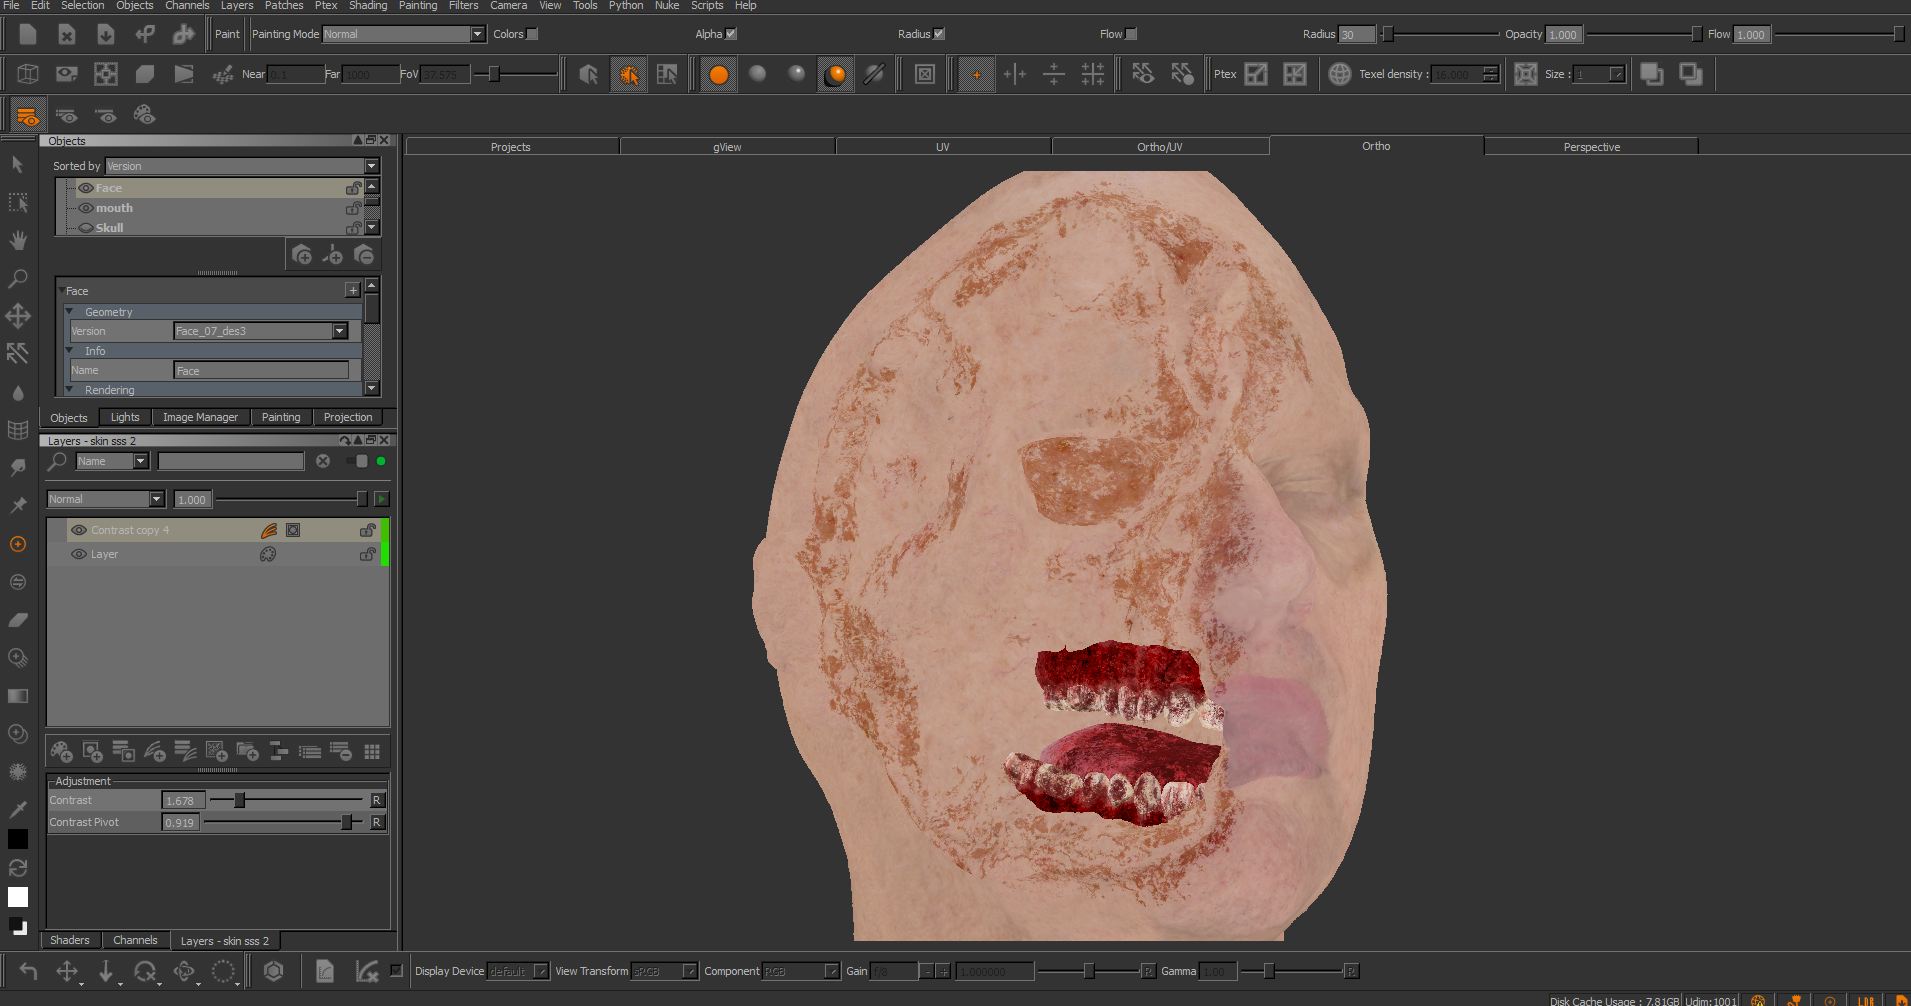
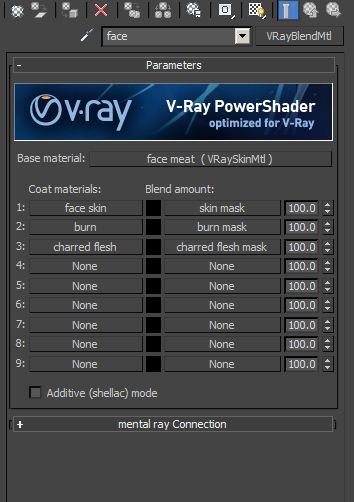
with vray skin shader and masks i could separate the skin from the meat textures and with vray blend material i create the main material for the face mouth and bones.
the next step was rendering with vray and use SSS2&Skin Shaders ,
i'm using vray HDRI map because it's the shortcut for using udim in max.